


*This post contains affiliate links to products. We may receive a commission for purchases made through these links, but it never influences our product selection process.
Table of Contents:
- Introduction
- Vault Door Options
- Framing for Vault Door
- Preparing Vault Room for Door
- Tools Needed to Install a Vault Door
- Vault Door Installation Steps
- Installing a Vault Door Yourself Vs. Hiring a Professional
- SnapSafe Vault Door Installation Guide
- FAQ Guide (What Readers Want to Know)
- Conclusion
Introduction
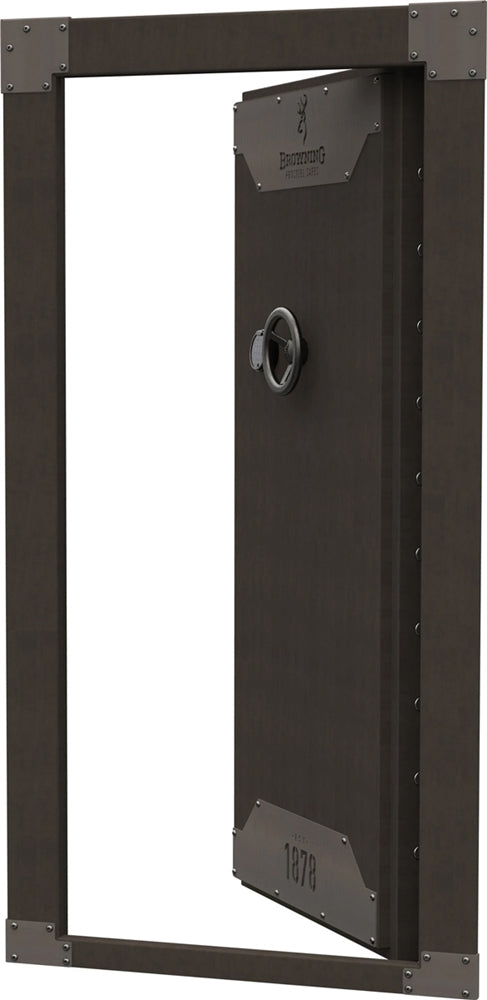
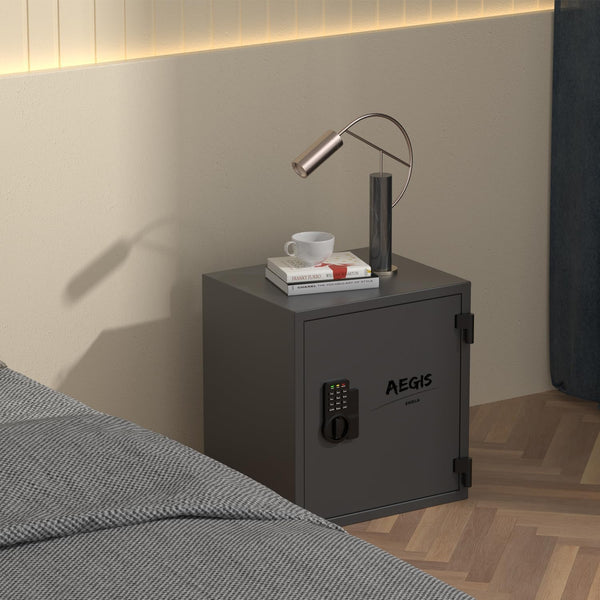
Vault doors aren't just big, heavy doors; they're the guardians of our most prized possessions. Made from tough-as-nails ballistic steel, these doors come in two main styles: inswing, which you push to open, and outswing, which you pull. If you're thinking about setting one up, there's a bit you should know.
Now, I've seen a lot of folks think installing a vault door is a piece of cake. But trust me, it's not your average weekend DIY project. First, you must decide if you want a right-hand or left-hand door handle. And let's not even get started on the weight of these doors – they're solid! So, when you're moving it into place, you've got to be extra careful.
But here's the kicker: it's not just about the door. The wall where you're putting up the vault door? That's just as crucial. A regular old wall might not cut it with these heavy-duty doors. For the best protection – especially if you're like me, wanting to keep the family and those responsibly owned firearms safe – you'll want reinforced concrete walls for your vault.
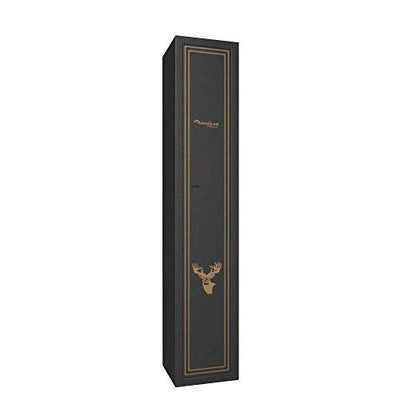
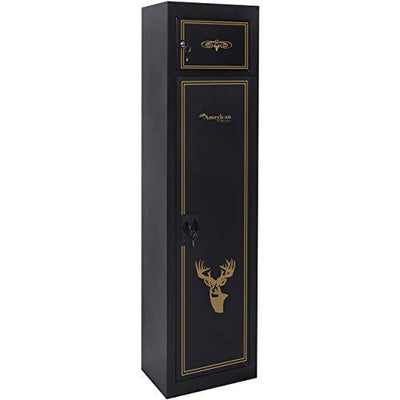
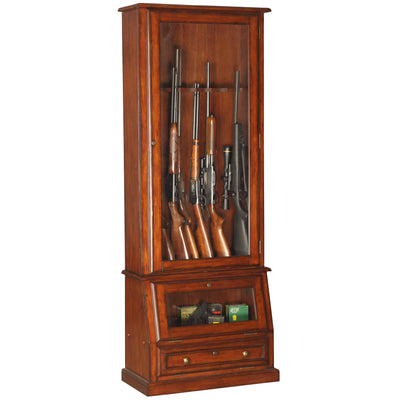
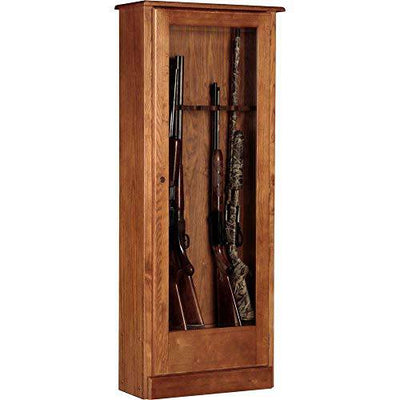
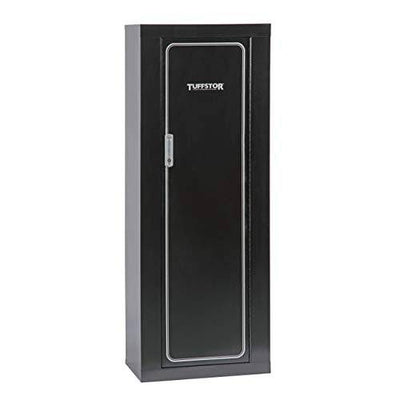
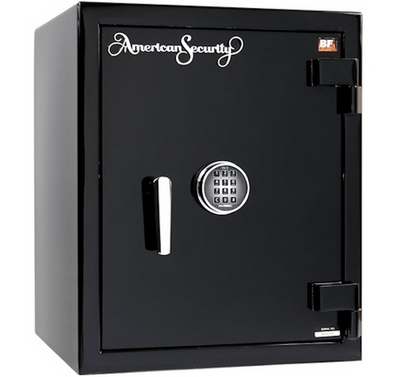
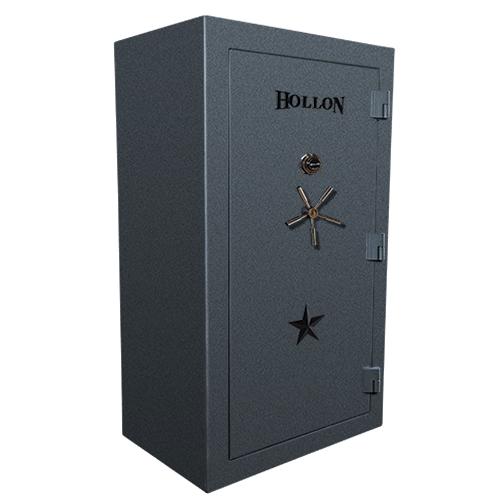
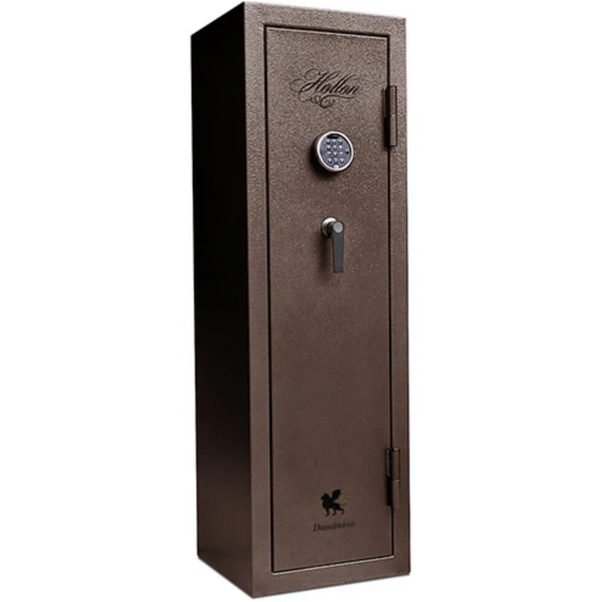
Vault Door Options
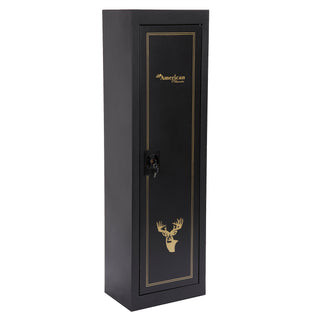
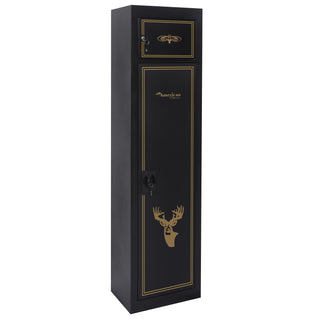
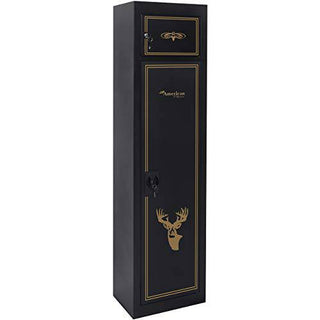
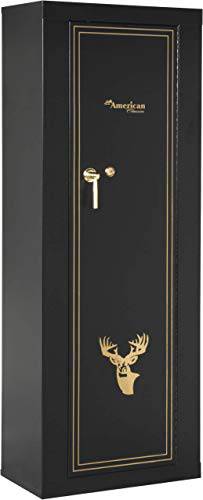
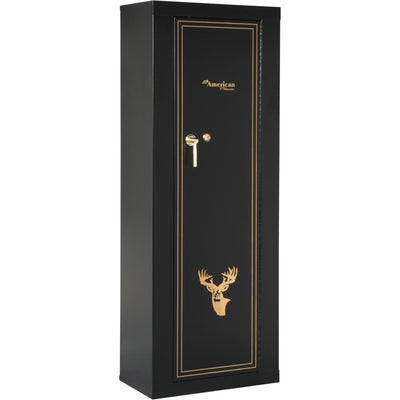
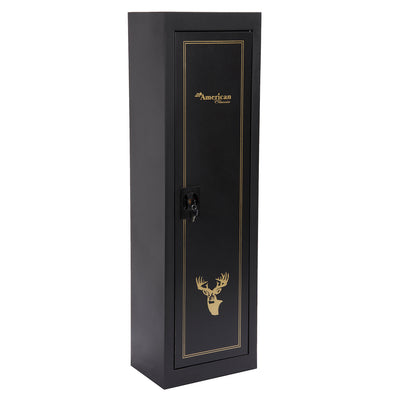
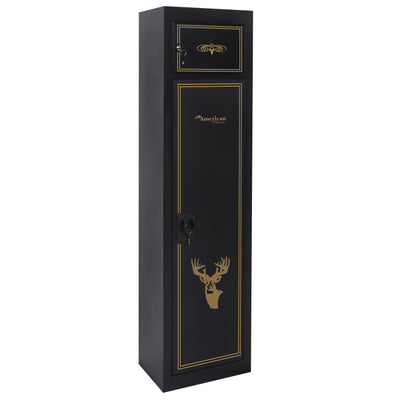
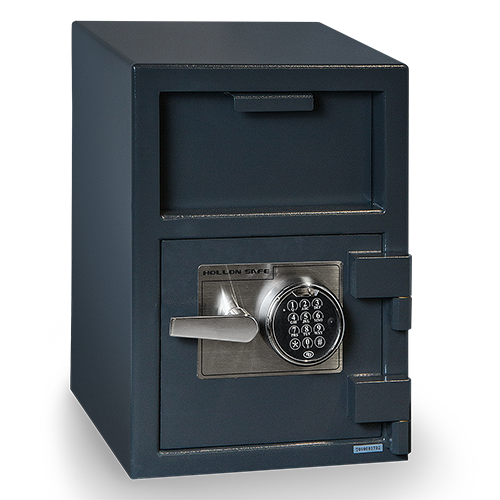
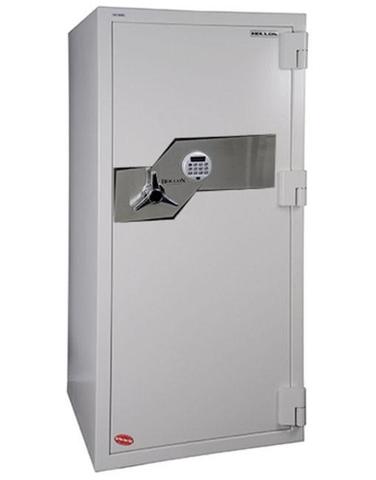
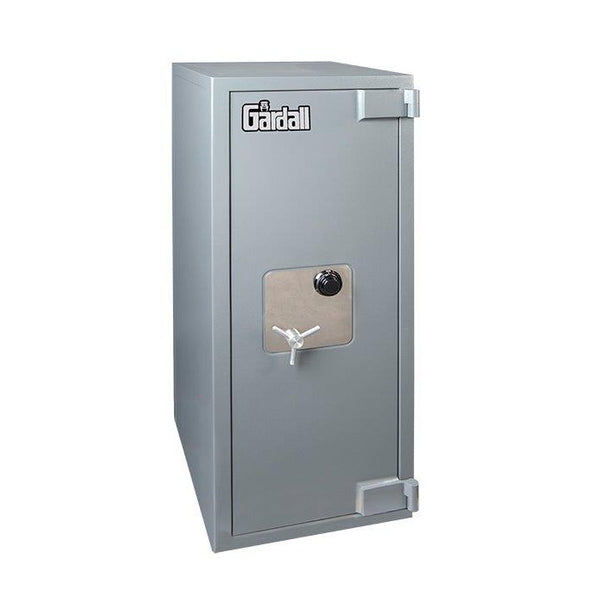
When it comes to quality, not all vault doors are created equal. For instance, Snapsafe is a brand that's earned its stripes in the industry. Known for their top-notch materials and attention to detail, a Snapsafe vault door is like the Rolls Royce of vault doors. Whether you're safeguarding cash, firearms, heirloom jewelry, or secret family recipes, this brand has got you covered. And the best part? Installation is a breeze, well, as breezy as installing a vault door can be!
Framing for Vault Door
Building a vault door frame is an essential step in installing vault doors. Since vault doors are heavy, having a concrete formation (mainly) around the frame is crucial. The concrete structure supports the frame enough to withstand the vault door’s weight.
Your vault door’s finish is another critical factor when aiming to install it. Flat and curved finishes require different approaches to installation. Remember, your goal is to fit the door in the frame and swing it (in and out) freely. Hiring a vault contractor may be a handy option to evaluate the door’s finish and determine the best method for fitting it.
Another crucial step is checking the accuracy of the frame’s size. Your vault door’s dimensions must be coherent with that of the frame. Even the most minor gaps can lead to improper fitting and faulty installation. You can accomplish error-free frame installation for your vault door by taking care of these factors.
Preparing Vault Room for Door
You can only accomplish your safety objective if your storage or panic room has a rigid structure. Many factors play an influential role in the preparation of your storage room. The following steps may help you prepare your vault room for door installation.
Step 1: Choose a Secure Location
● Select a location that is only accessible to you and your family.
● Avoid externally exposed sides to minimize the risk of intruder breach.
● Consider placing it away from windows and other entry points.
● Basements are typically ideal for creating vault storage.
Step 2: Ensure Discreet Access
● If located in the basement, ensure it doesn't have visible access.
● Conceal the presence of the safe room from house cleaning and maintenance staff.
● Use methods like building an underground door with a staircase for entry.
● Consider covering the entrance with furniture for added discretion.
Step 3: Reinforce Walls, Ceiling, and Floor
● Ensure your room has a solid concrete composition from top to bottom.
● If in doubt, consider calling an inspection team for evaluation.
● Enhance the toughness of the room's structure by adding materials like ballistic steel or fiberglass.
Tools Needed to Install a Vault Door

Installing your vault door requires a set of unique tools. You will need the following tools and materials to start your door installation once you are ready to unload and place your door inside the frame.
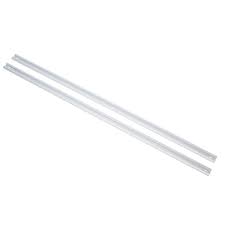
● 5/16" x 3" Lag Screws
● Socket Wrench
● ½" Wedge Anchors
● Plastic Shims
● Level (4' or longer)
● Drill
● ½" Drill Bit
● Pry Bar (if needed)
● Two 2x4 boards (6" wider than the vault door if needed)
This is the standard set of tools you need to install any size vault door. Please note that the measurements and sizes may vary depending on your door frame and vault door.
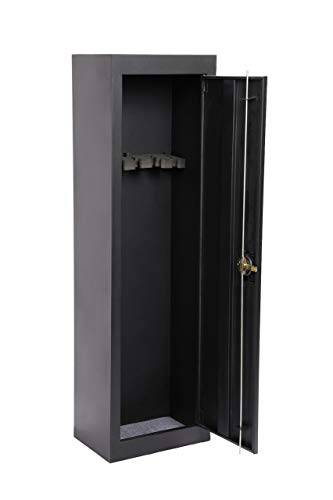
Vault Door Installation Steps
Whether you are building a gun safe or want additional security for your valuable assets, you need to ensure the accurate installation of your vault door. Once you have all the tools and materials needed to begin with, you are ready to follow the steps listed below:
● Apply a high-temperature bead of silicon around the steel frame to place the flange correctly.
● Place the door and frame into the rough wall opening.
● Press the frame against the wall from all sides.
● Drill (4" deep) through the top and bottom bolt holes on each side of the frame using a drill bit (½" or ¼").
● Place the four-set ½" wedge anchors into the drilled holes by tapping them to fit in the place accurately.
● Square the frame by loosening and tightening the anchors on each side.
● Apply a ⅛" or ¼" steel shim between the wall and the bottom hinge of the frame to minimize door friction.
● Drill the locking bolts and remaining anchors to tighten it in the place.
Installing a Vault Door Yourself Vs. Hiring a Professional
If you are confused about installing the vault door yourself or hiring a contractor to do the job, we have covered a few pros and cons to help you decide.
DIY Installation
The Pros
● You can save labor costs by opting for a do-it-yourself installation.
● You can have complete control over vault door installation.
● You can work at your own pace and pick a convenient time for installation.
The Cons
● Installing a vault door yourself can be risky in terms of potential errors.
● The lack of expertise and tools may lead to faulty installation.
● Do-it-yourself installation can be time-consuming.
● You may end up voiding the vault door’s warranty.
Hiring a Professional
The Pros
● Vault door contractors have the knowledge and experience for precise installation.
● Vault door contractors can accomplish the task in a limited time.
● You can let go of the worry of voiding the vault door’s warranty.
● Vault door contractors have proper installation equipment to minimize errors and risks.
The Cons
● Hiring a professional may increase your installation costs.
● You may have scheduling constraints based on your busy work routine.
SnapSafe Vault Door Installation Guide

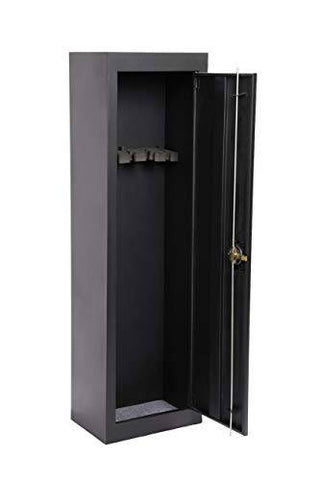
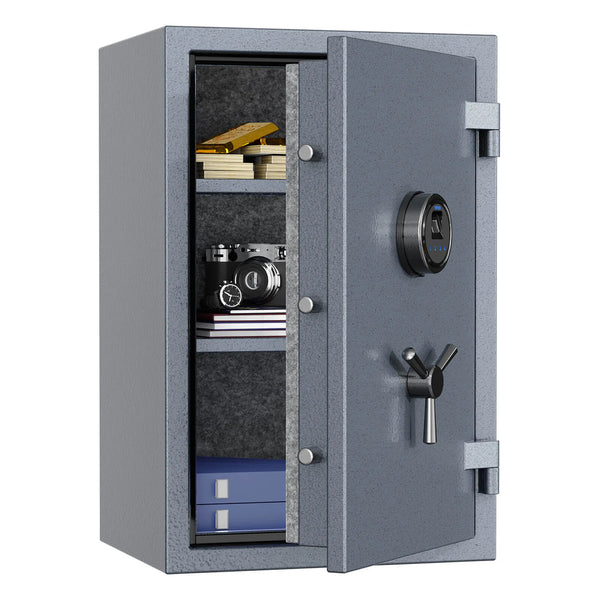
SnapSafe offers premium vault doors in two colors: dark gray and off-white. These doors are designed for enhanced security, featuring ceramic fiber insulation for fire protection, a Square-Lok™ interior panel, and a black chrome keypad and handle.
Tools & Materials Included:
Premium Vault Door
Lag Screws (12 included)
Socket Wrench
Additional Tools Needed:
Plastic Shims
Level (4' or longer)
Square
Drill with a 1/4" Drill Bit
Two 2x4 boards (6" wider than the door)
9-volt Battery
Installation Steps:
- Inspect the contents upon opening the packaging.
- Measure the rough opening (RO) to ensure it's 1" wider and 3/4" taller than the door.
- Check the level, plumb, and square of the RO.
- Place two 2x4 boards in front of the doorway and position the door on them.
- Lift the door into the RO, ensuring it's centered.
- Open the door to about 45 degrees and check its level and plumb.
- Secure the door using the provided lag screws.
- Apply interior trim (not included) to cover any gaps.
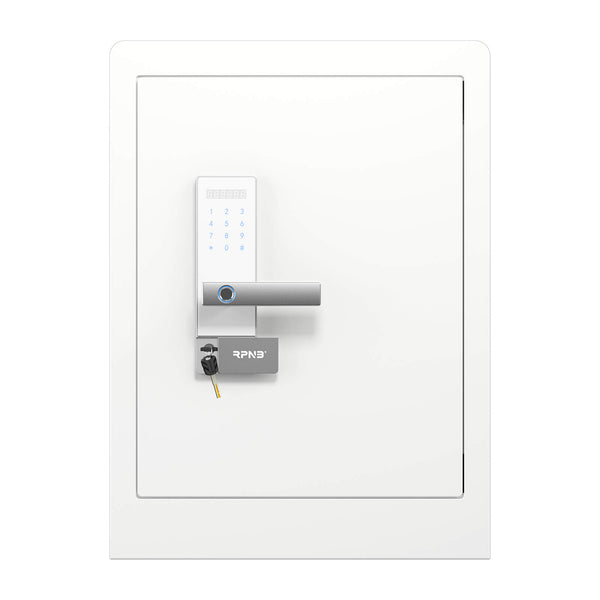
Lock Operation:
The digital lock requires a 9V battery. The factory preset combination is 1-2-3-4-5-6. Instructions are provided for changing the combination and using the backup mechanical key override.
Maintenance:
Regularly grease the door hinge pins and avoid harsh solvents or abrasives to maintain the door's finish.
Warranty:
SnapSafe offers a lifetime warranty, promising repairs or replacements in case of fire or attempted break-ins.

FAQ Guide (What Readers Want to Know)
What is a standard-size vault door?
The standard-size vault doors typically have an 80-inch rough opening with a 74-79-inch clear opening. This size is ideal for an average-height man and woman to comfortably walk in and out of the vault.
What is a pour-in-place vault door?
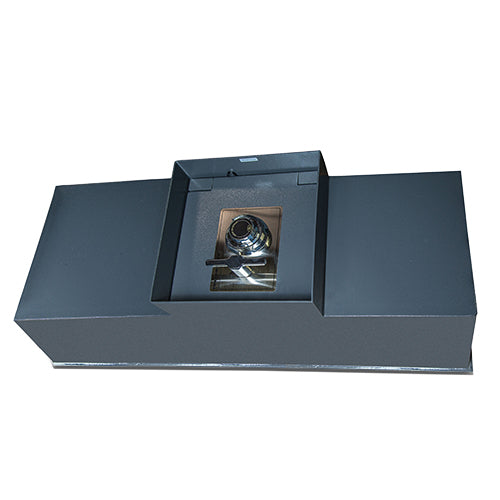
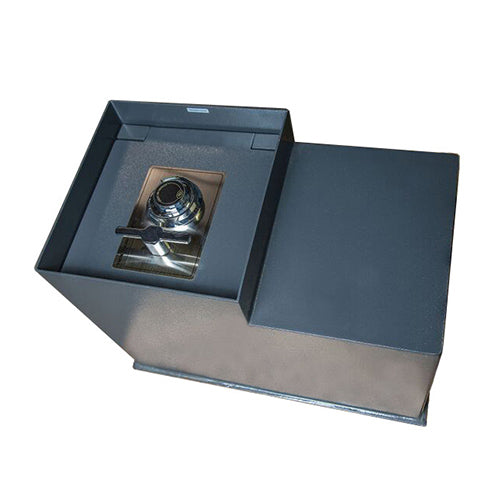
A pour-in-place vault door comes with reinforced thick steel sides to fit accurately in the poured concrete wall structures. Such safe room doors fit well into the rough opening and have a highly sustainable installation.
Is a basement vault door a good idea?
Yes, a basement vault door is a good idea as it provides an added layer of security, discreet access, and protection for valuables, especially in the event of an intrusion.
Conclusion
Installing a vault door is more than just a task; it's a commitment to the safety and security of your valuables and loved ones. While the process might seem daunting, with the right tools, knowledge, and perhaps a bit of professional guidance, you can ensure that your vault door stands as an impenetrable barrier. Remember, it's not just about the door but also about where and how you place it.
For those who want to delve deeper or explore top-tier vault door options, don't hesitate to visit USASafeandVault.com. Here's to a safer, more secure home!